To open the Editor, navigate to Settings > Document Designer.
Document Designer is a HTML page editor that allows you to create any A4 document to your own specific design. On initially opening the Document designer module, you will see within the LH menu each option available to you. These options fall into 5 categories, each has its own How To guide that covers in detail what is involved.
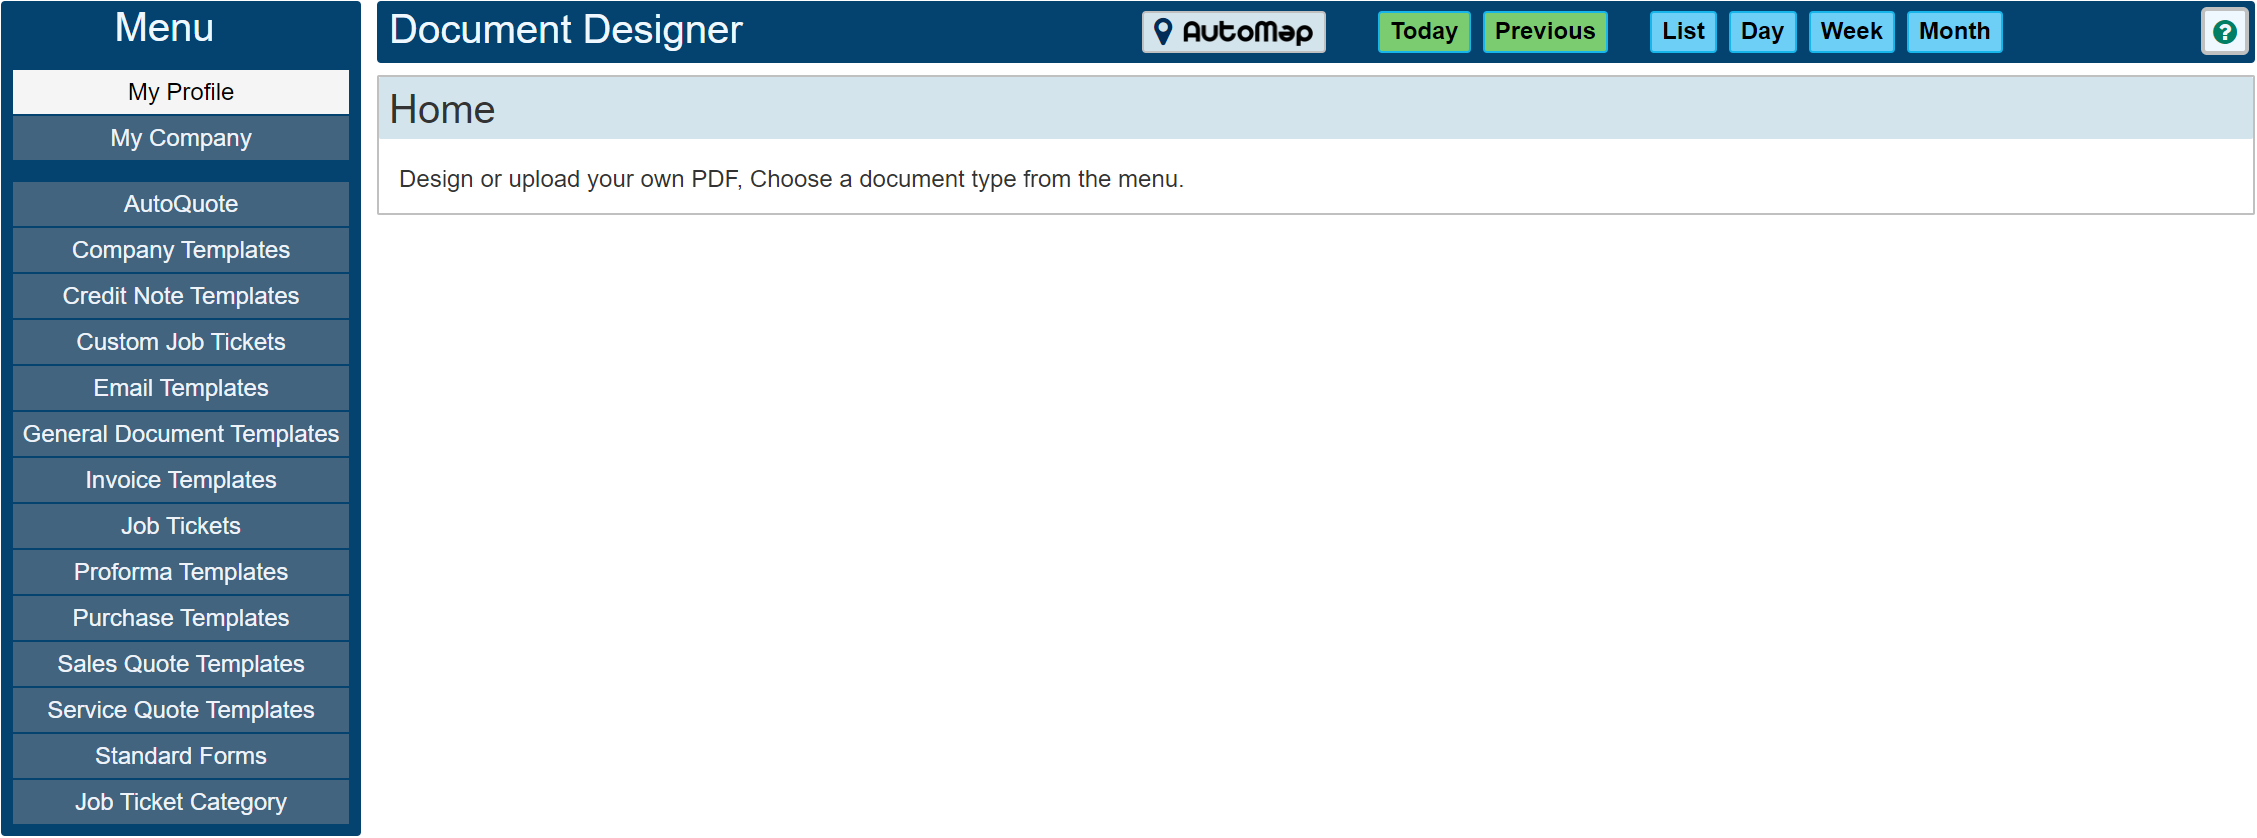
Categories
- AutoQuote - In addition to the general AutoQuote template that can be found within the 'Standard Forms' section, any number of custom AutoQuote templates may be designed. This allows you to create as many different designs as required depending on what you are quoting for within the AutoQuote document editor.
- Templates - All of the entries in the menu that end with the word 'Template' are documents used within the site and company records when creating for example a manually constructed service quote or general document and you wish to use a template other than the one shown within the 'Standard Forms' section.
- Job Tickets - Each of the 21 Top level Job Tickets has its own custom designed form.
- Standard Forms - The standard forms section contains options to upload your company stationary and all of the basic standard forms used within the system by default such as 'Invoices', 'Credit Notes' and Purchase Orders' etc
- Job Category - Each Job Ticket design can be split into any number of sub designs.
Document Designer Basic Principals
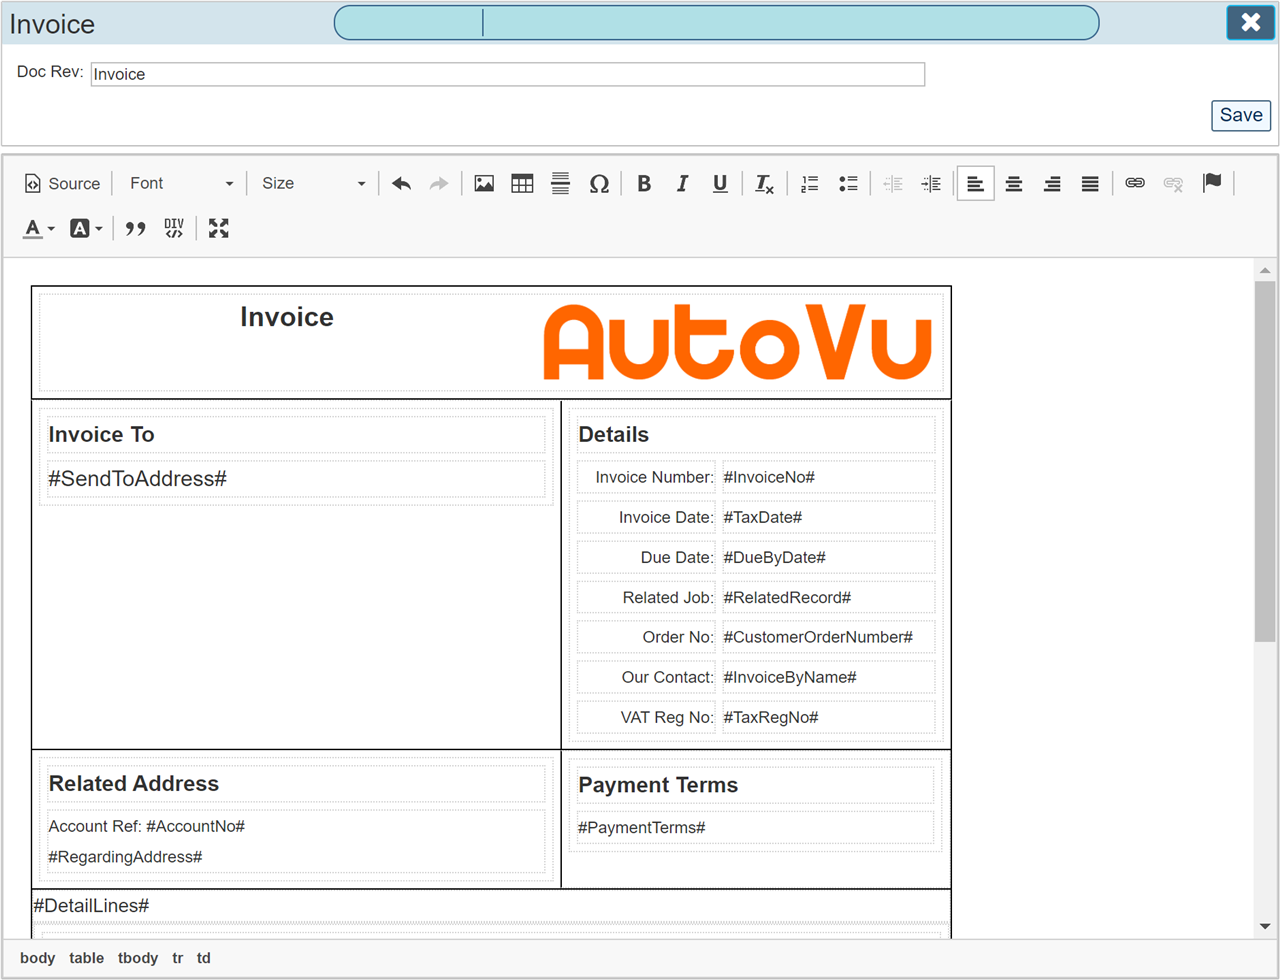
In this How To guide we will cover the basic principals of how the designer works. For our example, we will open the editor for the 'Standard Forms - Invoice'
To view this form, navigate to Settings > Document Designer > Standard Forms> Invoice
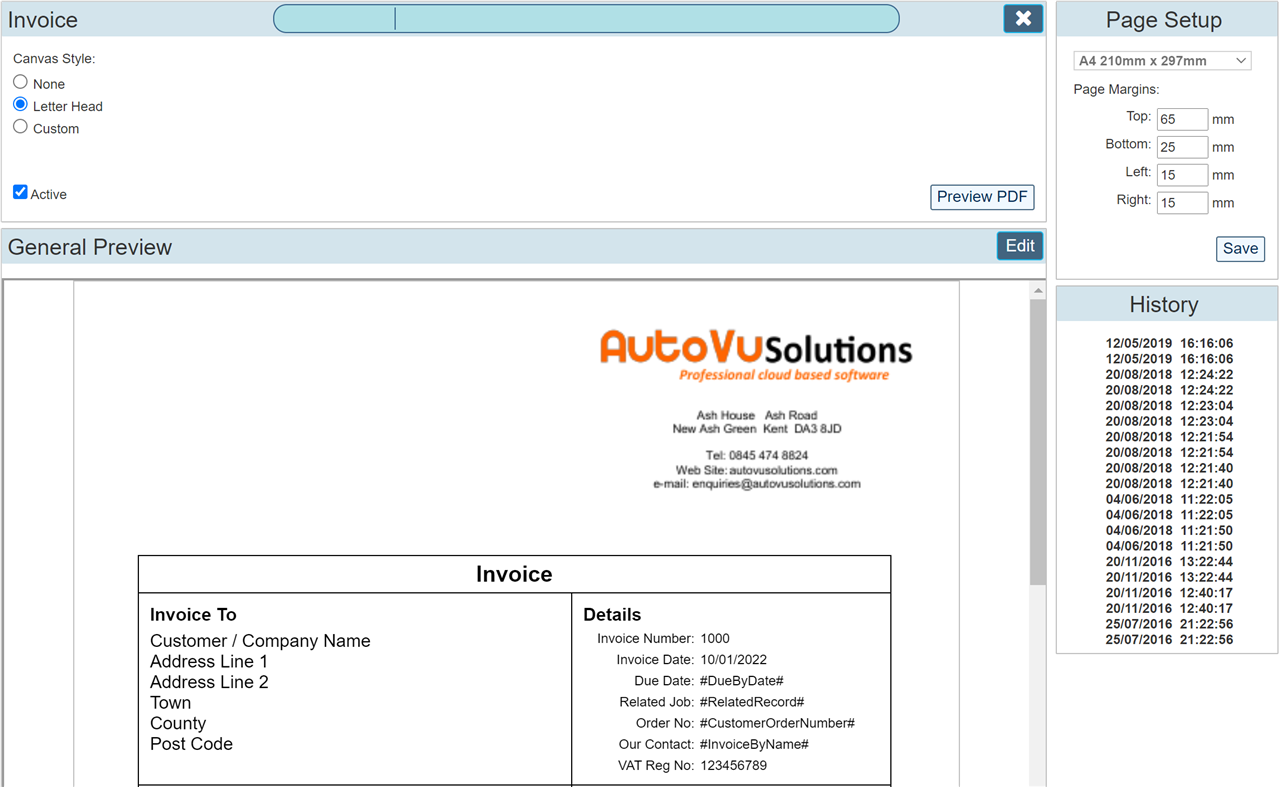
The General Preview shows an example preview of how the form would look as a PDF. To see the actual PDF as it would appear once created within the system, click the button 'Preview PDF' where the document will be produced and shown as an actual PDF document to the exact scale that will be used in production.
Canvas Style
This allows you to determine what the initial PDF background layout of the document will include. More often than not, you would select 'Letter Head' to automatically include your 'Pre Uploaded' company stationary that includes your address and Logo etc.
- None - With 'None' selected, your final document will include only the detail you enter within the editor for this page. I.E. your company stationary will not be used as a background. (Our basic designs for 'Job Tickets use this option' you may if you wish change this in your own designs)
- Letter Head - Most templates will use this option. Our example here for the Invoice uses the pre uploaded 'Company Letter Head' as a background to the Invoice Template. Uploading and utilising your 'Letter Head' allows you to automatically change your company stationary on every document created without having to manually change every document.
- Custom - This option allows you to upload a custom PDF to the editor as a background to your current design.
By selection the 'Custom' option, you will be shown the option to upload a PDF to use as the background image. Uploading a Custom PDF Document will only apply to the current document that you are working on.
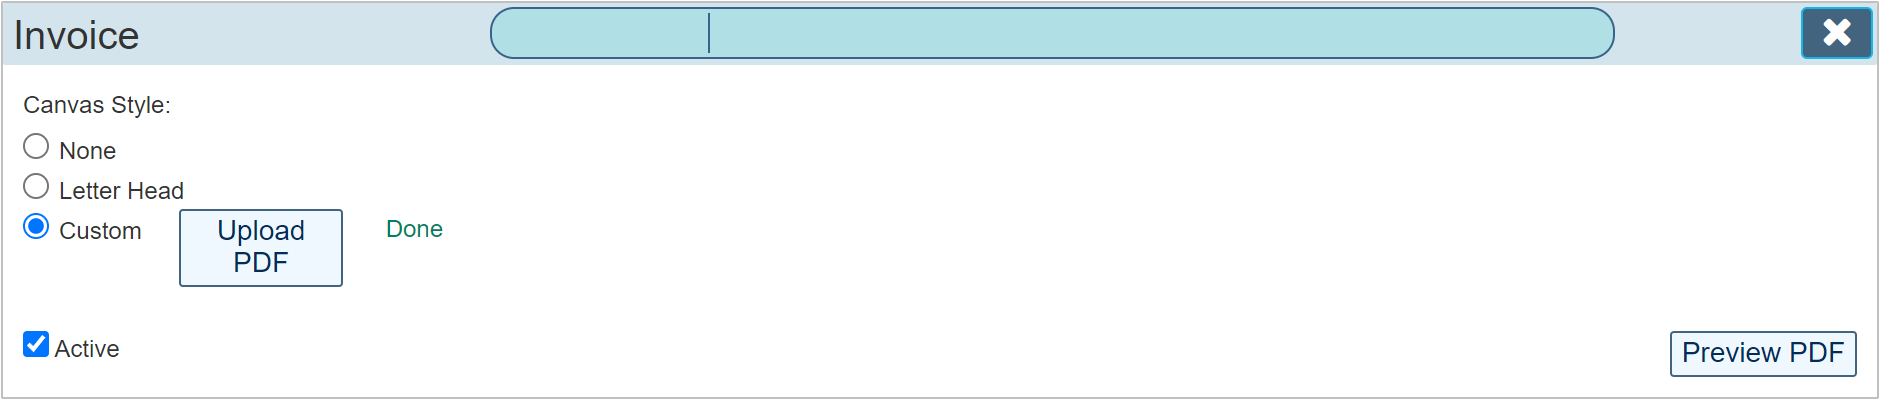
Click the 'Upload PDF' button to open a dialogue allowing you to navigate through your local computer filing system to locate an appropriate PDF to upload. As shown above, the word 'Done' in green is shown indicating that for this form, a custom document already exists. If the Custom form does not exist the word 'To Do!' will be indicated in red. It is not required to upload a custom Template if you are going to use the Letter Head option.
|
PDF documents uploaded to the system for use as a template background must be of the size A4
|
Active
The active toggle allows you to make the document available within the system. While initially creating the document, you may wish to toggle this switch 'Off' so that no one inadvertently uses your design while only partially complete.
Page Setup
All PDF's created within 'Workforce Manager' are of the size 'A4'. You may wish to include margins around the outer edges of your document to allow for things like the space taken by your letter head logo and address.
You can see in our example that we have specified a top margin of 65mm meaning that the design we create will be spaced approx. 65mm down from the top of the page when the PDF is created. Similarly we can include left, right and bottom margins allowing us to present the document in the way we intend.
|
The minimum margin width is 7mm. If you choose a size smaller than this it will revert back to 7mm. Depending on your Printer, this may be increased if the printer is not capable of printing so close to the edge of the page.
|
History
The panel labelled 'History' allows you to revert to an earlier version of your design should you make mistakes that cannot be rectified by clicking the 'Undo' button. There are a maximum of 20 history points made, each one is date / time stamped so that you know when the entry was made. Clicking on these opens that particular design.
Editing the Document
Click the 'Edit' button to open the document in edit mode.
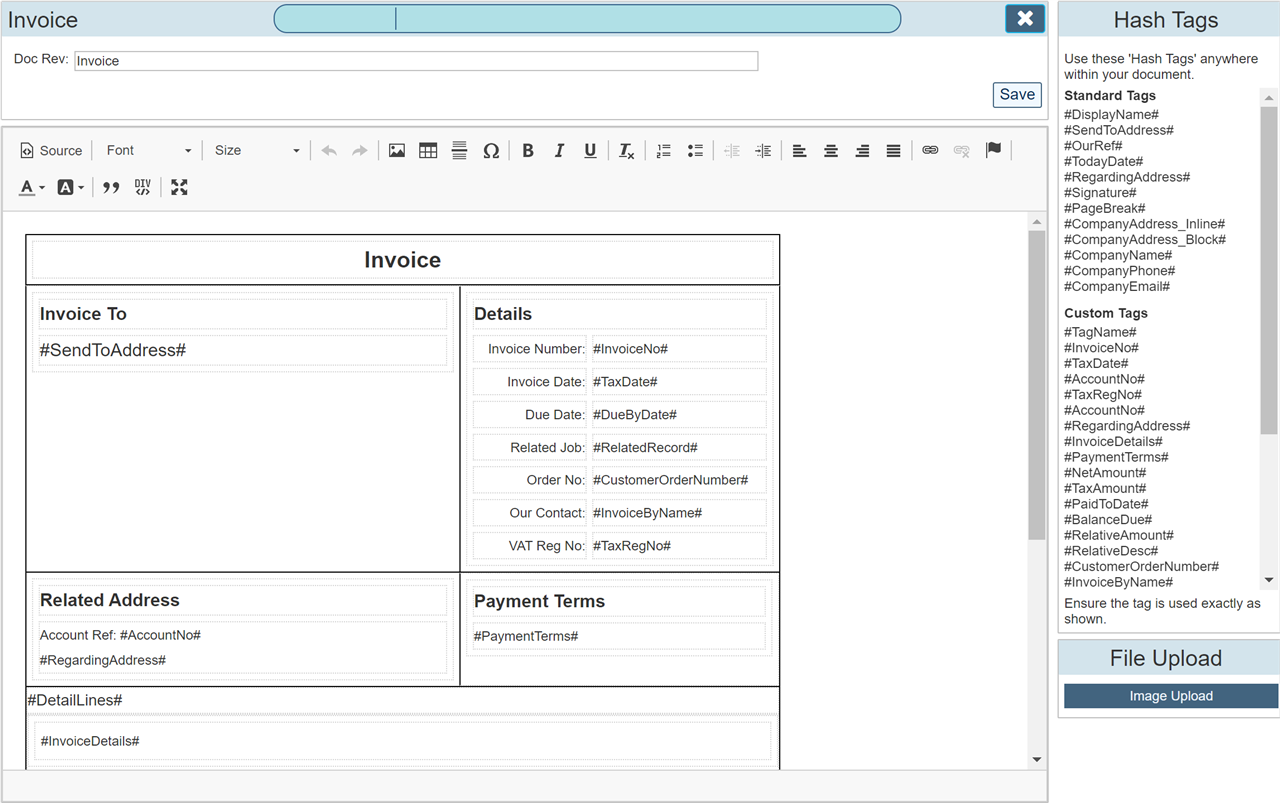
Edit Mode allows us to type directly to the document to edit the design.
Our example show a design that has already been created. If the editor is opened on a brand new document where a design has never been saved, Workforce manager will automatically include some basic information such as the Address #HashTag# and the Document Reference #HashTag# giving you a head start when designing each new template.
Doc Rev
This will typically be a revision number for your document. You may enter anything or nothing in this field. To meet ISO9000 standards, it is often recommended that each of your document designs has a revision number typically printed at the bottom of each page. If you wish to include the 'Doc Rev' within your design, enter the HashTag; #DocumentRevision# in an appropriate location within your document design.
Hash Tags
Workforce Manager uses #HashTags# located within the document design to swap in data from your system based on the HashTag used. For Example, the hashtag #InvoiceNo# as shown on our example will swap the #InvoiceNo# hashtag with the actual invoice number when the template is being used in production. I.E. when you are actually creating an invoice from a Site or Company record.
Each document designer type will have its own set of #HashTags# depending on what type of document is being edited. Many of the #HashTags# used are duplicated across all of the areas and are indicated in the RH menu as 'Standard Tags' Standard tags are common across all areas whereas the 'Custom Tags' section applies only to this document type.
You can see within our Invoice design now that we are in Edit mode that a number of #HashTags# have been used within this design.
File Upload
You can include images within your document by first uploading them to Workforce Manager. Click the button shown at the bottom of the RH menu labelled 'Image Upload' to open the 'Upload Files' dialogue.
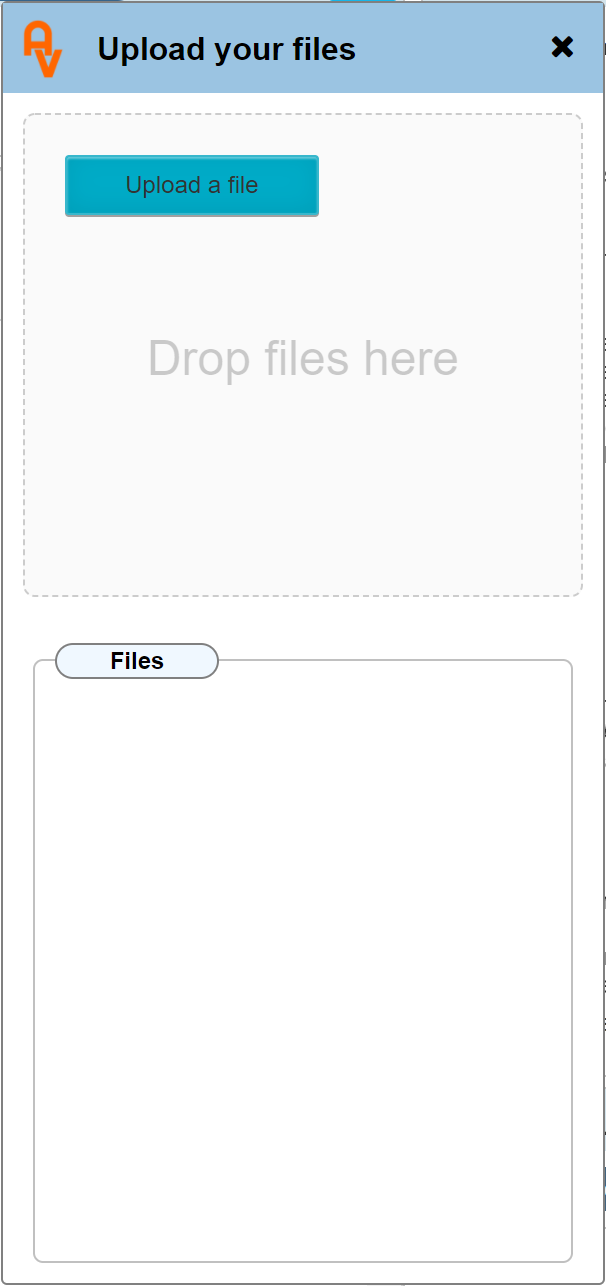
You may either drag and drop files directly to the area labelled 'Drop Files Here' or click the button 'Upload a file' to navigate through your filing system.
|
When using the Drag and Drop file upload option, where uploading more than 1 image, a maximum of 5 images at a time can be uploaded at a time. Once uploaded, further images can then be uploaded.
|
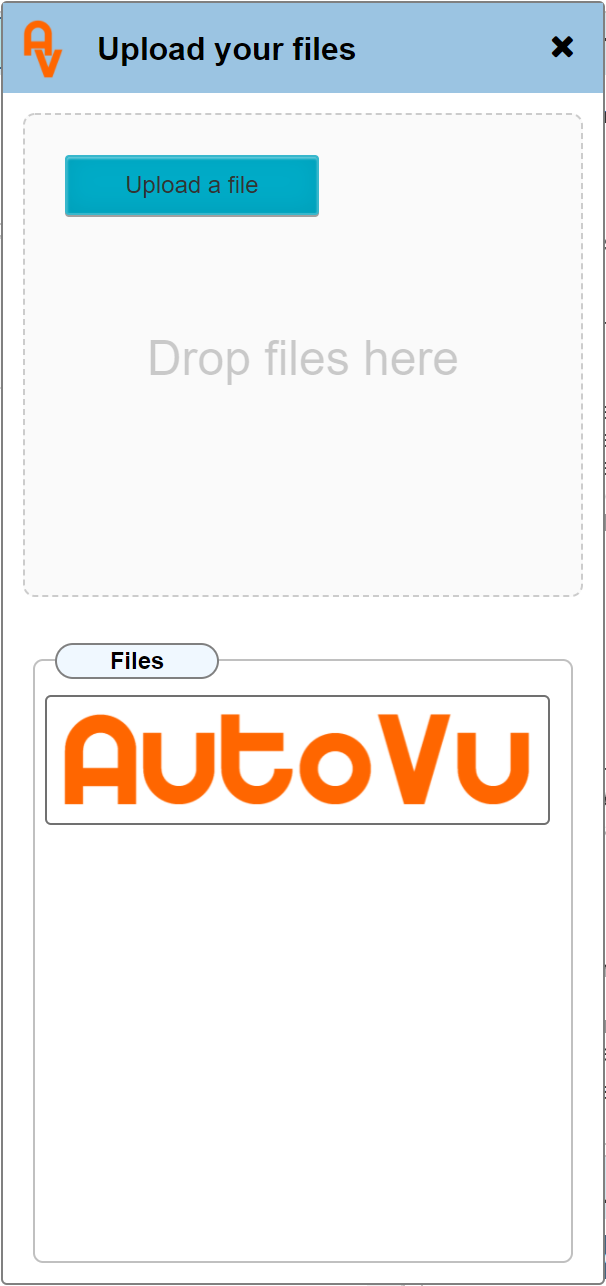
For this example, we will upload our 'AutoVu' logo image. Pictures or images of any kind can be uploaded to your specific design, but for this example we will use our logo image.
Once uploaded, the dialogue will show the uploaded images as seen below.
Drag and Drop the image to a suitable place on your document. Depending on the size of your image, it may appear to completely fill the document design. This will happen if the image uploaded was of a particularly high resolution. It is worth considering this when uploading images as each image uploaded adds to the final size of your document.
In this instance, we have purposely uploaded a high resolution image of our loge to demonstrate how we rectify this. Below is how our document design now looks having dragged and dropped our logo onto the editor.
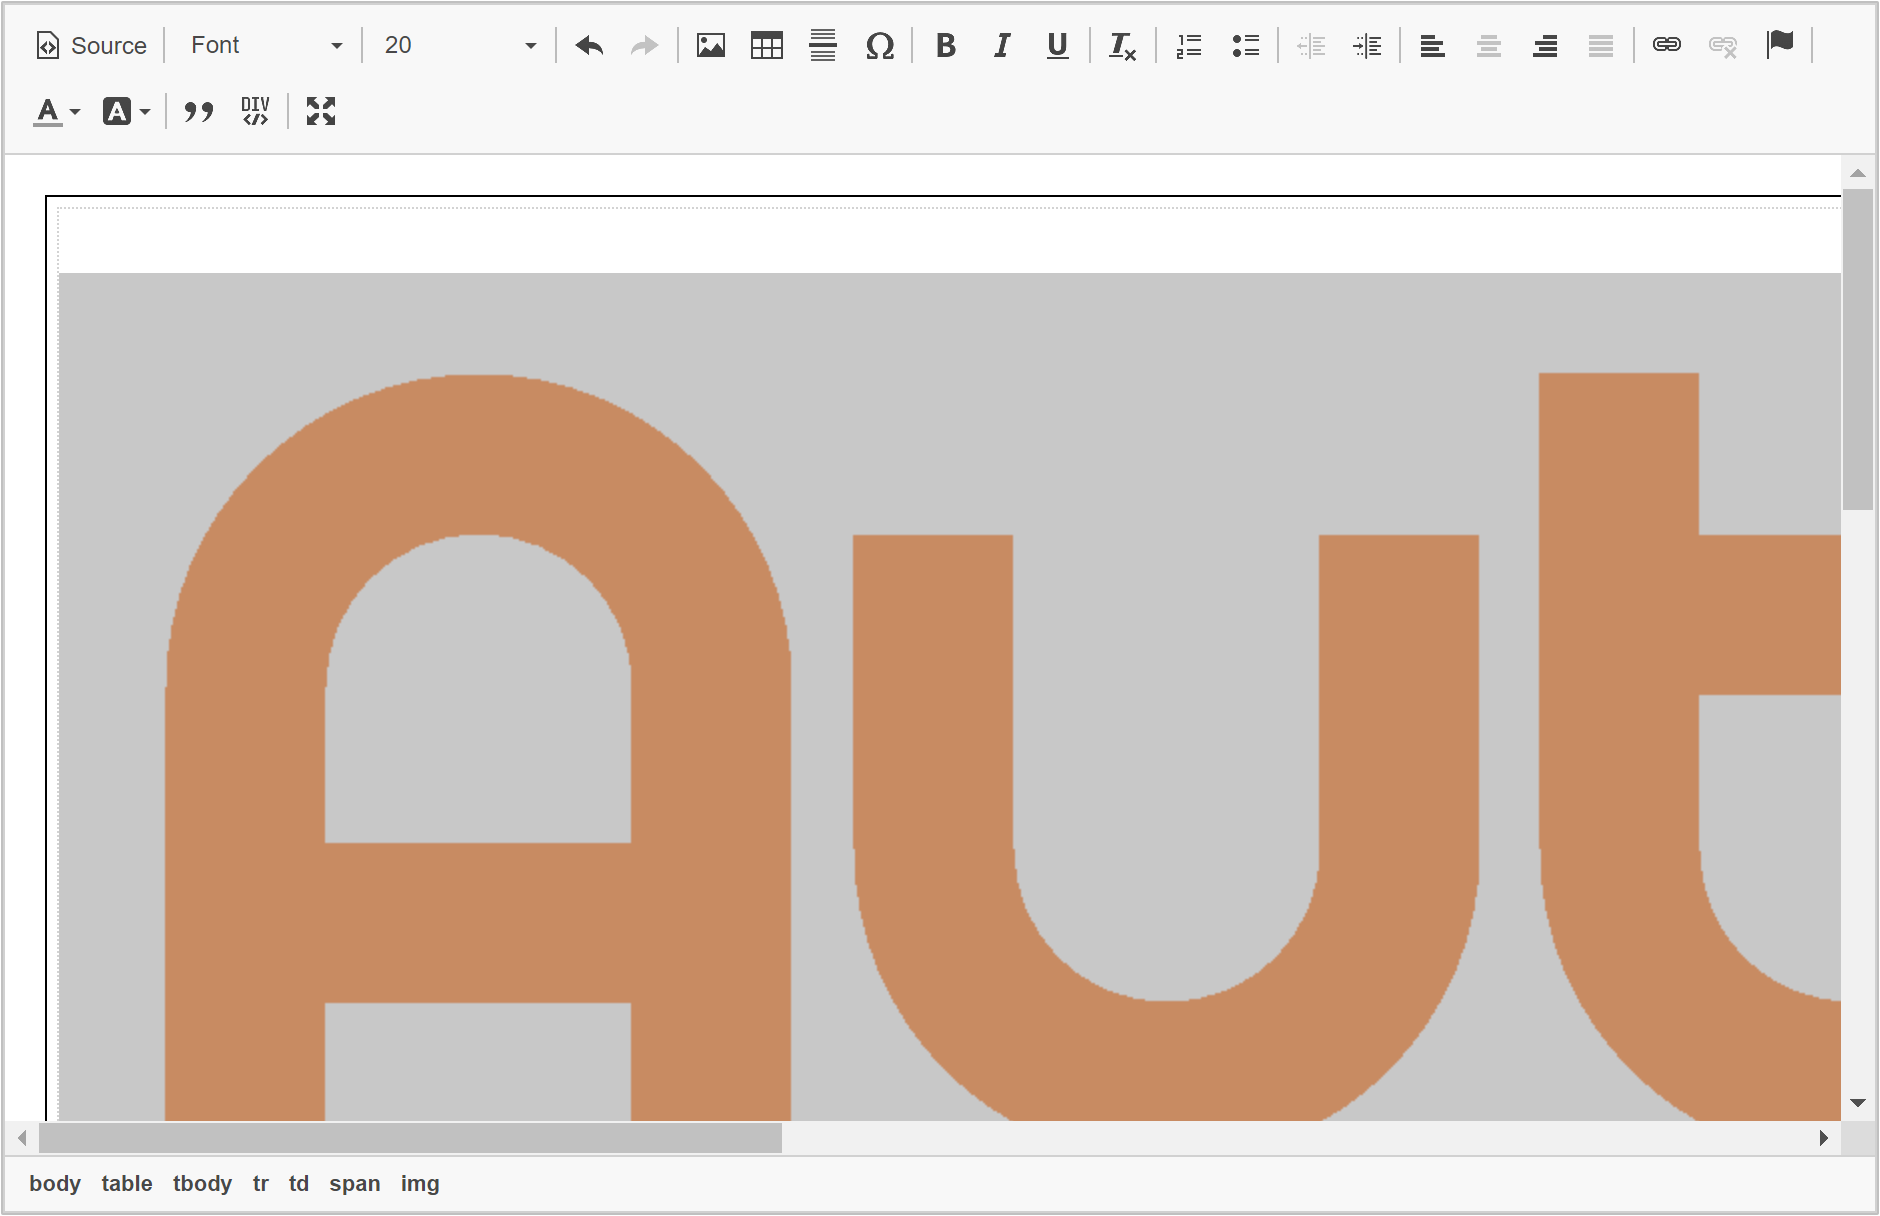
The image is of such high resolution that now all we can see is the logo.
To rectify this we can re-size the image to the correct size. Double click the image (or right click and select 'Image Properties') to open the Image Properties' dialogue.
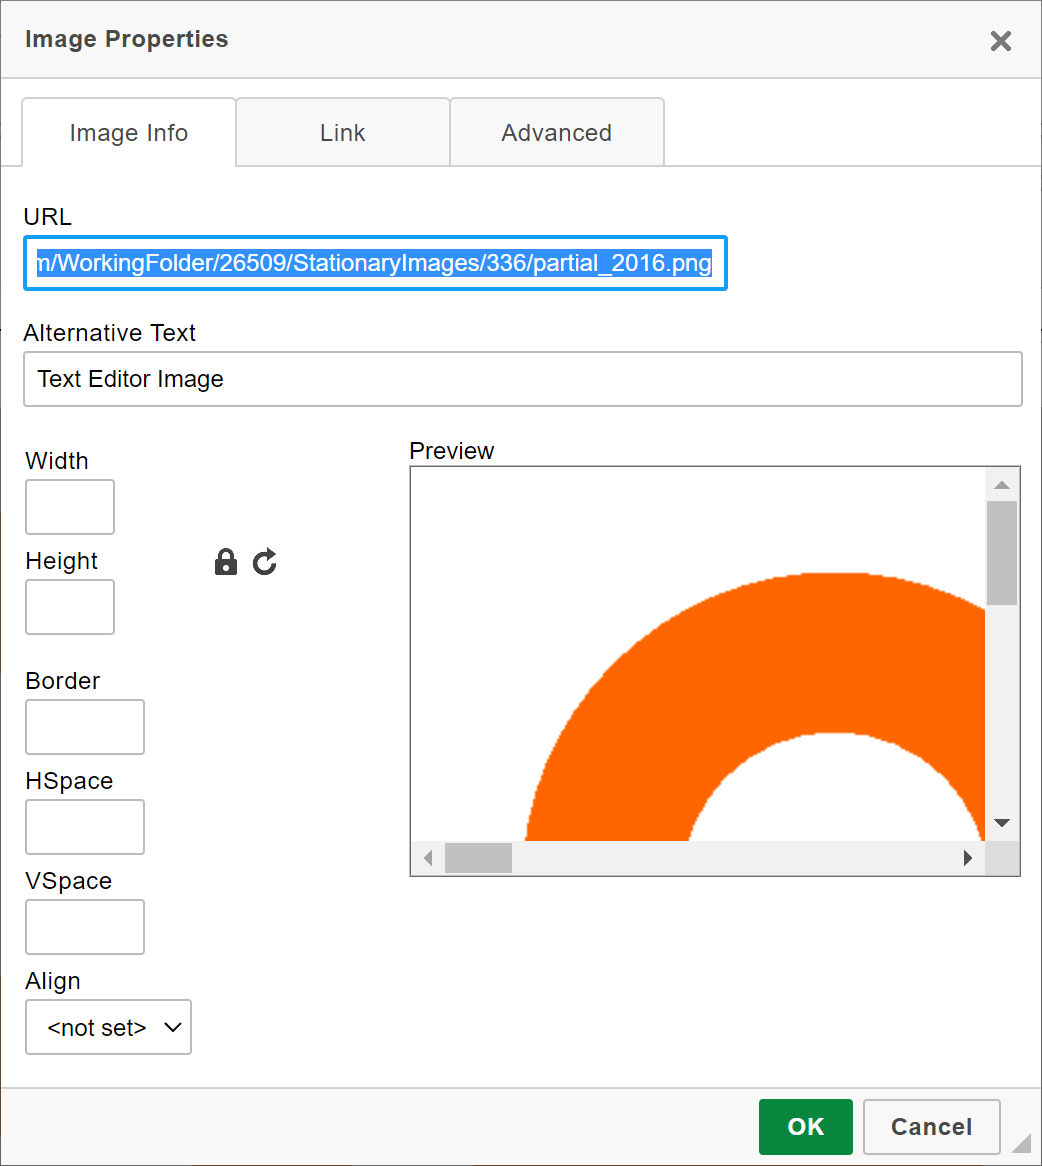
Click into the 'Width' field and enter an appropriate image width. (The aspect ratio is locked by default so entering only a width will automatically calculate the height so do not enter both width and height)
Below we have entered a value of 300 (300 pixels) and aligned the image to the right of the document.

A little trial and error will allow you to understand the correlation between pixels and the size show on screen. 300 is always a good starting point for any image. Adjust the number up and down from there until the desired size is obtained.
Once saved, the invoice design now includes our logo with the image at our new size.
Very complex designs can be created using the HTML Editor. Experimentation is the key to getting things just the way you want. We would recommend that you utilise a 'Table' design for most documents that require you to position things is specific places. This allows you to be very detailed in how your presentation will look.
The invoice template utilises the 'Table' element throughout the design embedding tables within tables etc to produce a very professional looking document.
To add a table to your document design, position your cursor where you want to add a table and click the button icon 'Table' shown on the top bar of the editor (hover over each icon to reveal their names)
Direct Editing of HTML
If you are proficient with HTML, you may open the 'Source Code' editor by clicking 'Source' on the top left of the editor bar. We do not recommend editing this unless you are certain of what you are doing as the result may not be as expected.
The only time we would recommend opening the 'Source' code is if you intended to copy an entire document for pasting into another 'New' document. E.G. if you have created a custom 'Job Ticket' design and wanted the same design in all other job ticket designs, you would open your custom form in 'Source' mode, right click and 'select all' then while your mouse is hovering over any of the 'Blue selected text', right click again and select 'Copy' Then navigate to a document where you want the same design to appear, enter 'Source Mode', select all existing text and delete, then paste in your original source code. Note: you must be in source mode to paste in the HTML otherwise the editor will simply show you the source code as a design.
Form Fields within a PDF
Document Editor will also utilise form fields embedded within a PDF. This is a method used in some older software titles but the principal is maintained within Workforce Manager for backward compatibility.
Using Adobe Acrobat Professional or similar software, you may embed 'Form Fields' within the PDF that Workforce Manager will pick up and swap in the data exactly the same way as the #HashTag# option when using the built in HTML editor.
If Form Fields are used within a PDF, this can be uploaded as a custom design for any editor design within Workforce Manager. The form fields must adhere to the same #HashTag# names for the system to detect them. E.G. the hashtag: #InvoiceNo# must appear embedded within the PDF exactly the same way / spelling including the # symbols.
'Standard' Hash Tags used throughout the system
These #HashTags# are used throughout the system where possible. Each of the Document Designer Categories has its own 'Custom' set of tags which are detailed within the appropriate How To Guide.
| #DisplayName#: |
This is the Display Name as used within the Site or Company Address Edit Dialogue.
|
| #SendToAddress#: |
The full name and address of the Site or Company for the document being produced. There is a level of automation included to determine which address is being used. E.G. within an invoice document the address used will be that shown on the screen invoice.
|
| #OurRef#: |
All documents produced within the system will automatically be assigned a document reference prefixed with a letter that conforms to the Symbols and Definitions dialogue.
|
| #TodayDate#: |
The current date shown in your locality. E.G. UK dates will be in the format dd/mm/yyyy
|
| #RegardingAddress#: |
If you are creating a basic correspondence record and the managing agent has been set, the #SendToAddress# address would be by default set to managing agent. You may change this in the editor to that of the Site. However, if you wish to keep the main address as the Managing Agent and want to enter a line that says R.E. {site address} you may use the #RegardingAddress# to do this.
|
| #Signature#: |
If you have set a personal written signature within 'My Profile' the system will use this signature within the document, including your name typed underneath. If you have not set a signature then only your typed name will appear.
|
| #PageBreak#: |
Forces the PDF generator to create a new page.
|
| #CompanyAddress_Inline#: |
Your own Company Name and address on a single line.
|
| #CompanyAddress_Block#: |
Your own Company Name and address in a block as it would be shown on a letter address.
|
| #CompanyName#: |
Your own Company Name.
|
| #CompanyPhone#: |
Your own Company Phone number.
|
| #CompanyEmail#: |
Your own Company Email Address.
|